I’ve been reading on Windows Memory Management and decided to take a deeper dive into Windows Memory Management. For this I decided to use Windbg in Kernel mode, attach it to 2019 VM . I am documenting the steps for future reference. For installing windbg preview please refer to my previous post
Before we start we must enable kernel debugging in Windows Virtual machine.
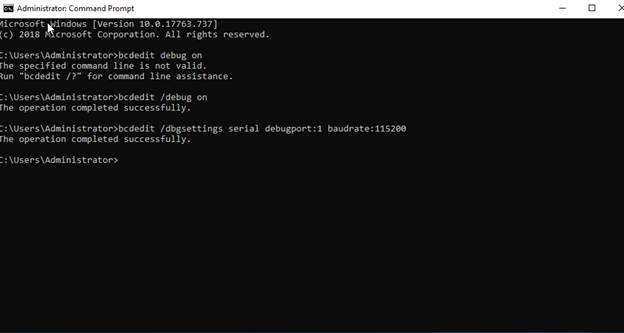
To do this open a Admin command prompt inside the VM and type following command:
1. bcdedit /debug on
2. bcdedit /dbgsettings serial debugport:1 baudrate:115200 (assuming the port is COM1)

Next we must shutdown the VM
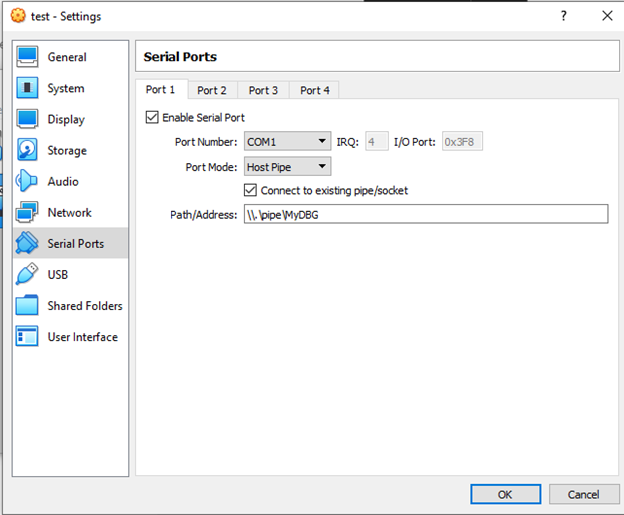
Then, In Oracle VirtualBox Manager, Navigate to Settings →Serial Port for our test VM

Check Enable Serial Port box
For Port Mode select Host Pipe from drop down Menu
In Path/Address enter Pipes name in our case \\.\pipe\MyDBG
Once above setting are done start VM
As soon as I started the VM, I ran into below issue:
NamedPipe#0 failed to connect to named pipe \\.\pipe\MyDBG (VERR_FILE_NOT_FOUND).
Since issue occurred immediately after making above changes and after taking a closer look I realized that I have checked Connect to existing pipe/Socket.
Since no pipe was created I was getting the error. Once I unchecked Connect to existing pipe/Socket VM started

Next Step: Setting up Debugger
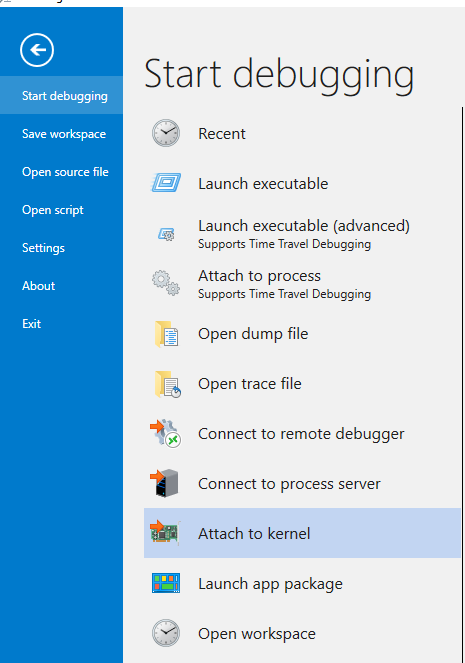
Open Windbg Preview and navigate to
File>Start Debugging” and select “Attach to Kernel”.

Next move to COM tab and give the name of the Virtualbox pipe and select “Pipe” and “Reconnect”

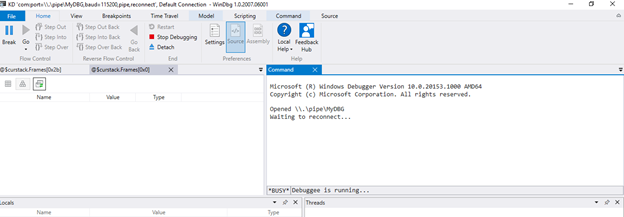
If all goes well, after selecting the ok we will see below window:

At the bottom we can see Debugge is running.
Next click on the Break button, this will pause the VM and start console

Now we have a Kd command prompt and we can start typing kernel command in the command line like r to see registry values
References :
